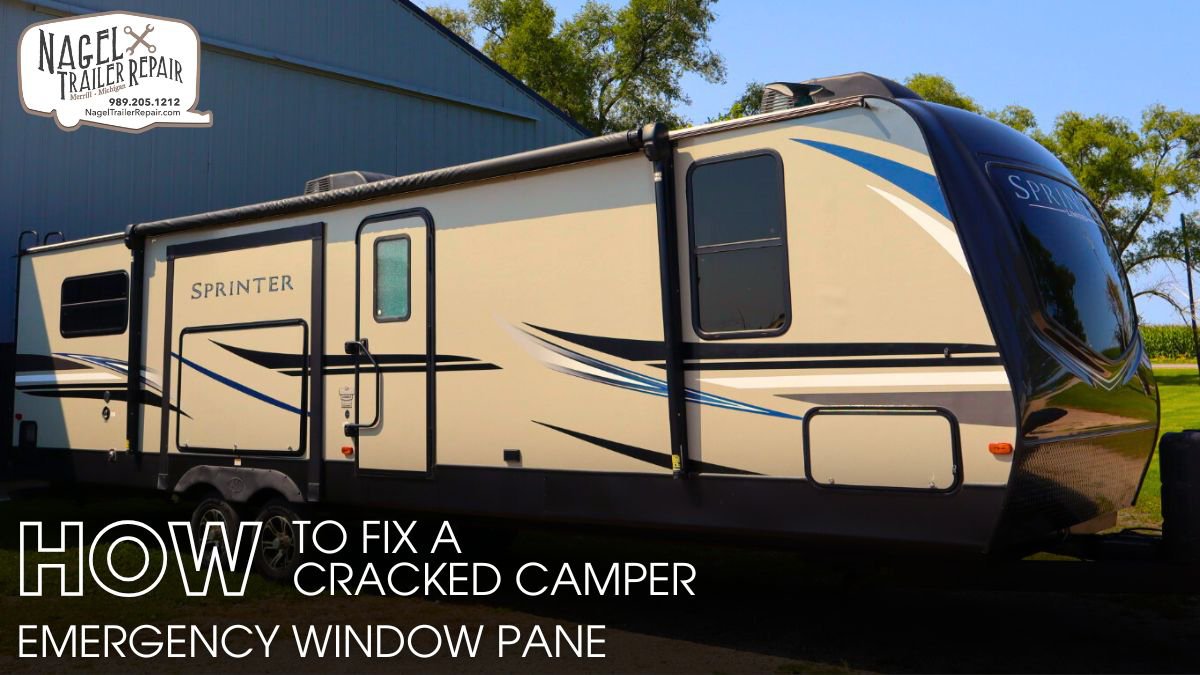
A cracked camper emergency window pane immediately grabs your attention because it exposes your RV to weather, leaks, and safety risks. You may notice the damage during a trip or while prepping for your next adventure, and the sudden break can disrupt your plans fast.
The problem is clear: a damaged emergency window compromises insulation, visibility, and structural safety. Leaving it unattended allows moisture to enter, weakens the seal, and can turn a small crack into a costly repair.
I promise to show you a straightforward, step-by-step way to fix the cracked emergency window pane using simple tools and safe techniques. By the end of this guide, you’ll confidently restore the pane, reinforce the frame, and protect your camper from further damage. Whether you’re doing RV repair in Michigan, or taking support from camper repair Michigan specialist, this guide supports you with practical steps you can trust.
Understanding the Damage:
When you notice a crack in your camper’s emergency window, your first step is figuring out what caused it. Cracks often result from temperature shifts, bumps on the road, or direct impact. Before getting into the repair, take a minute to assess the overall condition of the window.
Look for:
- Cracks spreading or forming spider patterns
- Moisture or fogging between layers
- Weak or deteriorated seals
- Warped or misaligned framing
A good assessment helps you choose the right materials and method for the repair. This level of attention is also standard practice across RV repair Michigan shops, where accurate diagnosis ensures a long-lasting fix.
Safety Prep Before Repair:
Before touching any glass, set up a clean and stable workspace. Broken glass is unpredictable, so planning ahead protects both you and your camper. Proper preparation reflects the same disciplined approach used in camper service Michigan facilities.
Prepare by gathering:
- Thick gloves and protective goggles
- A tarp or drop cloth for catching debris
- Screwdrivers, a small scraper, and a sturdy container
- Soft cloths and a residue-free cleaner
Also, clear the area inside your camper so you have room to maneuver. These safety measures make the repair smoother and prevent unnecessary damage.
Removing the Broken Pane:
Removing the damaged pane requires slow, steady work. Start by loosening the screws or clips holding the interior frame. Keep your tools organized and work evenly to avoid bending any trim.
As you remove the pane:
- Hold the glass gently while releasing the frame
- Push outward with light, steady pressure
- Collect large pieces immediately
- Place shards into a thick container for safe disposal
- Inspect the rubber gasket for flexibility or wear
This method mirrors the careful approach used in motorhome repair Michigan, where technicians protect surrounding materials while removing damaged components.
Prepping the Window Frame:
A clean frame is essential for proper adhesion and long-term durability. Even small bits of residue can prevent the new pane from sealing correctly. Technicians who specialize in camper repair Michigan always prioritize frame preparation because it determines the quality of the final installation.
Preparation includes:
- Scraping away old caulk using a plastic scraper
- Cleaning the channel with a mild, residue-free solution
- Checking for water damage, mold, or rust
- Letting the entire surface dry completely
This step ensures the replacement pane fits securely and won’t shift or leak as you travel.
Installing the New Pane:
Installing the new emergency window pane is where precision matters most. Begin by dry-fitting the pane to confirm proper sizing and alignment. This helps prevent stress points or uneven pressure once the sealant is applied.
Follow these steps:
- Apply an even bead of high-quality sealant around the frame
- Insert the pane carefully while applying even pressure
- Reinstall the interior frame and tighten screws gradually
- Check alignment from both inside and outside
- Allow sealant to cure fully before travel
This installation method matches the approach used in RV repair Michigan, ensuring the pane performs well under road vibration and changing weather conditions.
Final Checks and Upkeep:
After the installation, perform a few final checks to confirm your repair is solid and safe.
Review the following:
- Spray water lightly on the exterior to check for leaks
- Feel around the frame for drafts
- Test the emergency exit latch for smooth movement
- Clean the glass with non-abrasive cleaner
For long-term window health, make seasonal inspections part of your routine. Look for loose seals, shifting trim, or early signs of moisture buildup. Consistent maintenance is a key principle in camper service Michigan and keeps your camper ready for every trip.
The Role of Professional Maintenance:
Professional maintenance plays a major role in keeping your camper safe, efficient, and ready for travel. Experts can spot early signs of window damage that most owners overlook and repair cracks before they spread.
They also ensure your propane system stays properly staged and regulated, which directly improves fuel efficiency and prevents dangerous pressure fluctuations. By relying on trained technicians, you extend the life of your camper and avoid costly breakdowns on the road.
Conclusion:
Fixing a cracked emergency window pane may feel overwhelming at first, but once you understand the steps, the project becomes manageable and rewarding. When you carefully assess the damage, work safely, remove the broken pane correctly, prep the frame, and install the replacement with precision, you strengthen your camper’s structure and protect it from future issues.
These repair methods follow the same reliable standards used in camper repair Michigan, helping you enjoy a safer, more comfortable travel experience. With routine inspections and simple upkeep, your repaired window will stay dependable for years ahead.