Your RV roof may look solid from the outside, but even the smallest penetration—like a vent, antenna, or wiring port—can become a hidden gateway for leaks.
These unsealed or aging penetrations allow water to seep into the roof structure, causing rot, insulation damage, mold growth, and expensive repairs that many RV owners don’t notice until it’s too late.
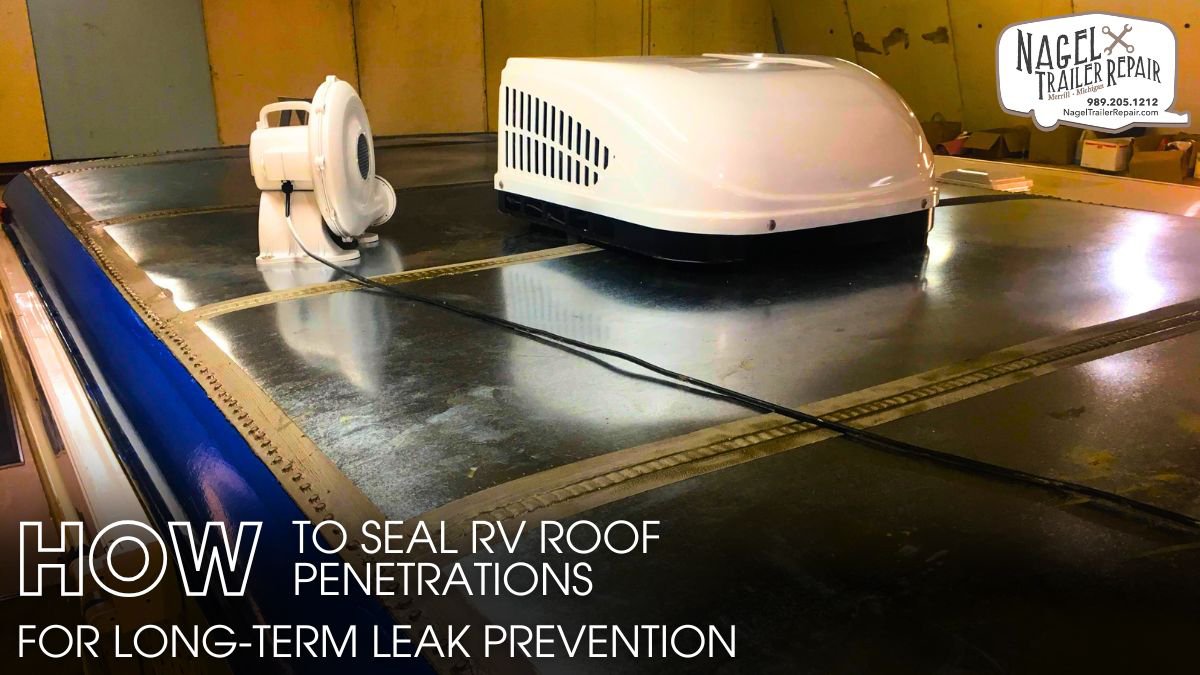
In this guide, you’ll learn exactly how to seal RV roof penetrations the right way, using proven techniques and materials designed to prevent long-term leaks and extend the life of your RV roof. Whether you’re dealing with RV roof sealing Michigan, roof repairs after winter damage, or general maintenance, this process applies to all RV roof types.
Understanding Roof Penetrations:
Every penetration on your RV roof—vents, skylights, solar mounts, antennas, plumbing ports—creates an opening where water can sneak in. These points rely heavily on sealant, screws, and flanges to keep moisture out. Over time, sun exposure, highway vibration, and seasonal temperature swings slowly break down that protection.
Michigan owners see these issues even faster. Hot summers, freezing winters, and constant condensation cause the roof membrane and its sealant to expand and contract. That movement eventually cracks caulk, loosens hardware, or separates the membrane. It’s one of the biggest reasons RV roof repair Michigan searches spike every spring.
You may spot early warning signs such as:
- Cracked or thinning sealant around fixtures
- Small bubbles in the membrane near penetrations
- Water staining on ceilings or cabinets below roof features
- Slight soft spots when you walk near vents or skylights
Recognizing these issues early helps you repair problems before they lead to permanent damage.
Tools and Materials Needed:
A long-lasting seal depends on using products designed specifically for RV roofs. Household caulks or construction-grade silicone won’t bond properly to EPDM, TPO, or fiberglass roofing, and they tend to peel or crack quickly.
Use the following materials for best results:
- Self-leveling lap sealant: Ideal for flat surfaces; it spreads smoothly into a watertight layer.
- Non-sag sealant: Perfect for vertical surfaces where you need the bead to stay in place.
- Butyl tape: Creates a flexible, airtight gasket under fixtures and hardware.
- Roof primer: Helps sealant grip properly on older or chalky roof membranes.
- Reinforcement tape (Eternabond): Adds long-term strength to high-stress areas.
Useful tools include:
- Plastic scrapers for removing old caulk safely
- Caulking gun for controlled application
- Microfiber cloths for cleaning
- Seam roller for bonding tapes
- Cordless drill for tightening or replacing screws
- Heat gun for cold-weather work—especially helpful for camper roof sealing Michigan during early spring
Having the right materials ensures your seal is strong, clean, and built to last.
Surface Prep Techniques:
Surface preparation determines whether your new sealant bonds perfectly or fails prematurely. Dirt, oil, oxidation, and old caulk all interfere with the adhesion process.
Start by washing the area around each penetration with a roof-safe cleaner. Michigan RVs often collect heavy dust, pollen, and tree sap during storage, so take your time cleaning. Once the surface is clean, rinse it thoroughly and let it dry.
Next:
- Remove all old or loose sealant using a plastic scraper
- Wipe the area with isopropyl alcohol to remove oils or residue
- Inspect the membrane for damage like small tears or pinholes
- Apply primer if your specific roof membrane requires it
Good preparation creates a clean surface that allows the sealant to form a strong, durable bond.
Sealing Application Steps:
Sealing roof penetrations takes patience, precision, and proper technique. Start by applying butyl tape under any flange or mounting base you’re reinstalling. Press it firmly so it molds into a tight, uniform gasket. This creates your primary waterproof barrier.
Tighten screws evenly in a crisscross pattern to avoid warping the flange. Uneven pressure can create gaps that eventually lead to leaks.
Now it’s time to apply sealant:
- Use self-leveling lap sealant on horizontal surfaces. Apply a thick, continuous bead around the base of the penetration and over any exposed screws. The sealant will settle naturally into a smooth dome.
- Use non-sag sealant on vertical surfaces to prevent drips or runs.
- For added durability, especially in harsh climates, apply a strip of Eternabond tape over the sealed area. Use a seam roller to remove air pockets and ensure full adhesion.
This layered approach creates a flexible, weather-resistant barrier that withstands Michigan’s extreme temperature shifts and heavy moisture cycles.
Advanced Protection Tips:
If you want to maximize the lifespan of your RV roof, consider adding a few advanced upgrades. These aren’t required for sealing, but they offer excellent long-term protection—especially for owners dealing with RV roof sealing Michigan conditions.
Here are valuable reinforcement strategies:
- Apply a UV-resistant roof coating once a year to protect the membrane from degradation.
- Use dual-layer sealing for parts of the roof that experience frequent vibration.
- Add flexible boots to wiring and cable penetrations to reduce stress from movement.
- Strengthen weak or uneven areas with butyl tape before applying sealant.
These upgrades reduce the frequency of resealing and help your RV withstand weather, travel vibration, and seasonal expansion better.
Post-Seal Maintenance Guide:
Even the best sealing job needs periodic attention. Regular maintenance ensures your seals remain strong and prevents minor issues from becoming expensive repairs.
Follow these simple maintenance steps:
- Inspect your roof every three months or after major storms.
- Look for thinning or cracked sealant and repair it immediately.
- After winter, check for separation caused by freeze–thaw cycles.
- Clean your roof regularly to remove debris that can trap moisture.
Routine maintenance dramatically extends the life of your roof and reduces the need for emergency RV roof repair Michigan services.
The Role of Professional Maintenance:
Professional maintenance plays a major role in keeping your RV roof protected and leak-free. While sealing roof penetrations and choosing the right caulking are tasks you can do yourself, a trained technician can spot problems long before they turn into costly repairs.
Professionals know how to identify weak seals, hidden moisture, and early membrane wear that most owners overlook. They also use specialized tools and industry-grade sealants that last longer and perform better in harsh weather. Regular inspections ensure every penetration stays watertight and every caulk line remains strong, giving your RV a longer roof lifespan and saving you from sudden, expensive surprises on the road.
Conclusion:
Sealing RV roof penetrations is one of the most important maintenance tasks for preventing long-term leaks and protecting the structural integrity of your RV. With the right materials, proper surface prep, and consistent maintenance, you can create a durable, weather-resistant barrier that stands up to Michigan’s tough climate.
Whether you’re handling routine RV roof sealing Michigan or reinforcing your camper after winter damage, these techniques ensure your RV stays dry, strong, and road-ready for years to come.