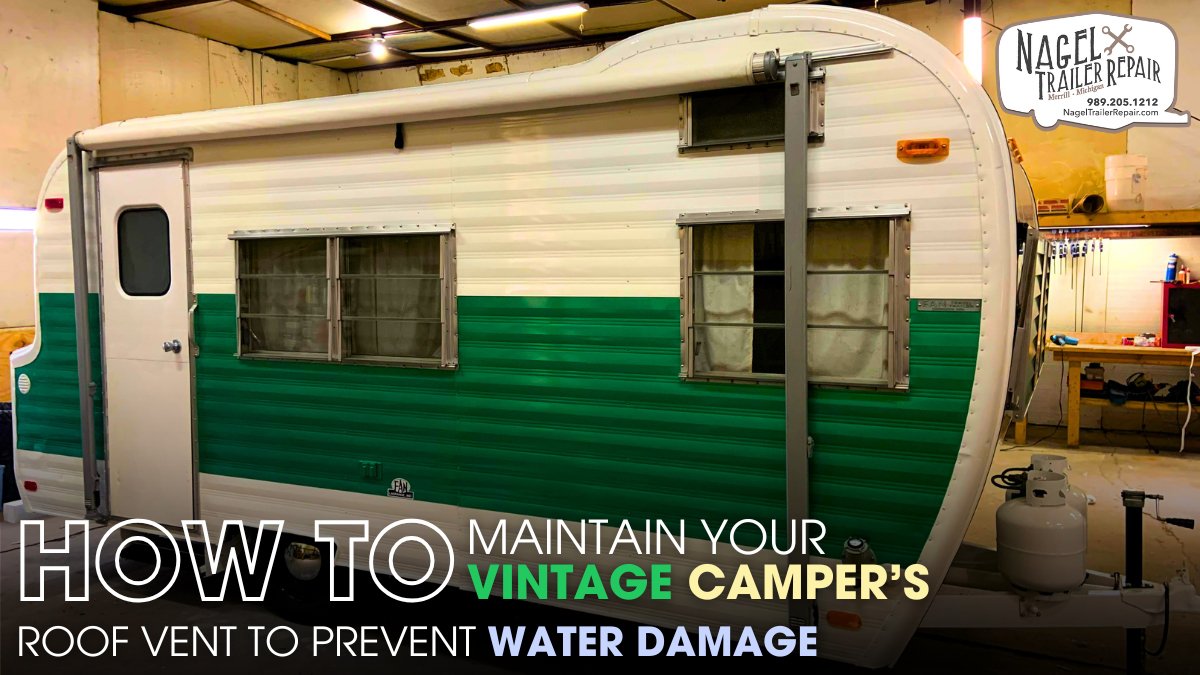
Owning a vintage camper offers a unique blend of nostalgia, adventure, and charm. However, with age comes the responsibility of proper maintenance to ensure the camper stays functional, safe, and enjoyable. One critical area that requires regular attention is the roof vent. A roof vent in a vintage camper plays an essential role in promoting air circulation, reducing moisture buildup, and preventing condensation inside the living space. But over time, these vents can degrade, leading to leaks and water damage that can threaten the integrity of your camper. In this guide, we’ll walk you through how to maintain your vintage camper’s roof vent to prevent water damage, ensuring your camper remains in top condition.
Understanding the Importance of Roof Vents in Vintage Campers:
Before diving into maintenance, it’s important to understand why roof vents are essential in vintage campers. These vents help regulate airflow and ventilation within the camper, preventing the buildup of moisture that can lead to mold, mildew, and rust. They are designed to release heat and moisture from the inside while allowing fresh air to enter. Without a well-maintained roof vent, your camper could suffer from poor air circulation, especially in humid conditions or after heavy rain, increasing the risk of water damage.
Common Problems with Vintage Camper Roof Vents:
As vintage campers age, their roof vents can experience wear and tear. Common problems include cracked vent lids, deteriorating seals, and rusted or clogged vent mechanisms. These issues can create gaps or holes that allow water to seep into the interior, causing potential water damage to the ceiling, walls, and insulation. Without proper attention, these small issues can escalate into major repair needs that could compromise your camper’s structure.
Step-by-Step Guide to Maintaining Your Vintage Camper’s Roof Vent:
1. Inspect the Roof Vent Regularly
Regular inspection of your roof vent is the first step in maintaining its functionality. Make it a habit to check your roof vent every few months, especially after a rainstorm or when preparing for a camping trip. During the inspection, look for any cracks or signs of damage to the vent lid and surrounding areas. If the vent lid is cracked or broken, it’s essential to replace it as soon as possible to prevent water from entering your camper.
2. Clean the Vent Cover and Screen
Dirt, leaves, and debris can clog the vent cover and screen, restricting airflow and potentially allowing moisture to accumulate. To prevent this, clean the vent regularly using a soft brush or cloth. Be sure to remove any debris that may be trapped in the screen or around the vent. This will ensure the vent remains functional and free from blockages, which could lead to condensation buildup inside the camper.
3. Check and Maintain Seals
The seals around the roof vent are crucial in preventing water from leaking into your camper. Over time, these seals can become brittle, cracked, or worn out, making them less effective. Inspect the seals regularly for signs of damage and replace them as needed. If you notice gaps or compromised areas in the seals, clean the surface thoroughly and apply a new layer of sealant. Silicone-based sealants work well for this purpose, as they create a watertight barrier that can withstand the elements.
4. Lubricate the Vent Mechanism
The vent mechanism should operate smoothly to ensure that the vent opens and closes without issue. Over time, hinges, handles, and other moving parts can become stiff or corroded. Use a lubricant such as silicone spray or a light oil to keep the moving parts functioning properly. This will not only ensure the vent opens easily but also help prevent rust from forming, which could damage the mechanism over time.
5. Reapply Roof Vent Sealant
Even if your vintage camper’s roof vent is in relatively good condition, the sealant around the vent could degrade over time, leaving areas vulnerable to leaks. To prevent this, you should periodically reapply a high-quality roof vent sealant. This type of sealant is designed to protect against UV rays, moisture, and temperature fluctuations that can break down the materials. When applying the sealant, ensure that the area around the vent is clean and dry for optimal adhesion.
6. Check for Rust and Corrosion
Rust and corrosion can be a significant issue in vintage campers, especially around metal roof vents. Check for any signs of rust on the vent lid, frame, or surrounding areas. If you find rust, it’s essential to remove it as soon as possible to prevent further damage. You can use a wire brush or sandpaper to gently scrub away the rust and then apply a rust-inhibiting primer and paint to protect the metal from future corrosion.
7. Replace Old or Damaged Roof Vents
If your vintage camper’s roof vent is beyond repair or if it continues to cause problems despite maintenance, it may be time to replace it. Replacing the roof vent may seem like a big task, but it can save you from ongoing issues with water damage. When replacing the vent, choose a high-quality product designed for vintage campers to ensure a good fit and effective sealing.
8. Install Vent Covers for Extra Protection
To further protect your roof vent, consider installing a vent cover. A vent cover can help shield the vent from rain, leaves, and other debris while still allowing air to flow freely. This can extend the life of your roof vent and reduce the amount of maintenance required.
The Role of Professional Maintenance:
Professional maintenance plays a vital role in keeping your vintage camper in top condition. For your camper’s roof vent, a skilled technician ensures it’s free from debris and properly sealed, preventing leaks and costly repairs. Regular servicing can extend its lifespan and maintain air circulation.
Similarly, refurbishing vintage camper propane tanks is crucial for safety and functionality. A professional inspection ensures the tanks are properly cleaned, tested, and re-certified, helping you avoid leaks or malfunction. Relying on expert maintenance protects both the camper’s integrity and your peace of mind.
Preventing Water Damage with Proper Vent Maintenance:
By following these steps and maintaining your vintage camper’s roof vent, you can prevent water damage and keep your camper in excellent condition for years to come. Remember that small problems can escalate quickly, so regular maintenance and prompt repairs are key to protecting your camper. Keeping your roof vent in good working order will not only prevent water from entering but also improve the overall air quality and comfort inside your vintage camper.
Conclusion:
Proper maintenance of your vintage camper’s roof vent is crucial for preventing water damage and preserving the camper’s longevity. Regular inspections, cleaning, sealing, and lubrication can go a long way in maintaining the functionality of your roof vent and preventing moisture buildup that could lead to more severe damage. If your roof vent is showing signs of significant wear or damage, consider replacing it to ensure a reliable seal and continuous protection against the elements.
By staying proactive in your maintenance efforts, you can enjoy the unique charm of your vintage camper while avoiding costly repairs down the road. Whether you’re a seasoned camper or just beginning your vintage camper journey, these tips will help you keep your camper in tip-top shape. If you’re in need of professional help, reach out to trusted experts in Vintage Camper Repair Michigan, where specialized services can help you maintain your roof vent and tackle any other camper issues you may encounter.