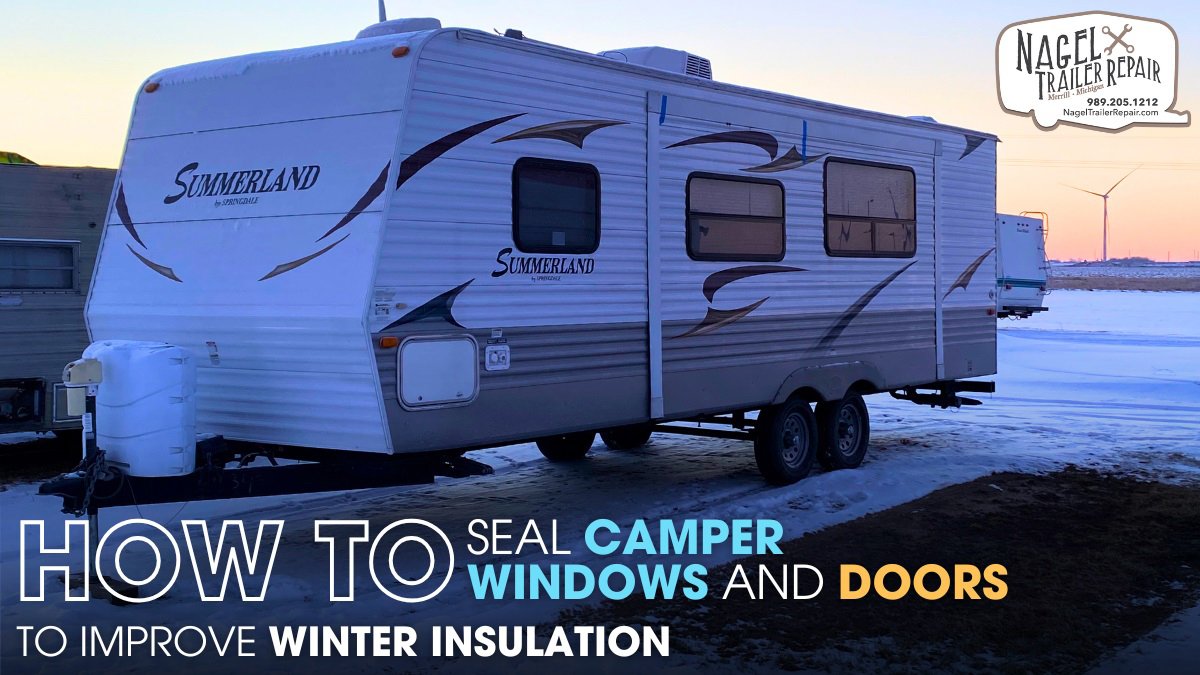
When winter sets in, one of the biggest challenges for camper owners is ensuring that their vehicle remains insulated and protected from the cold. Camper windows and doors are often weak points when it comes to temperature regulation. Without proper sealing, cold air can infiltrate, and warm air can escape, causing your camper to become uncomfortable and inefficient. Sealing your camper’s windows and doors properly is one of the most effective ways to improve winter insulation and protect your camper from the harsh elements. In this post, we’ll guide you through the steps to properly seal these areas, ensuring you’re prepared for winter.
Understanding the Importance of Sealing:
Before diving into the how-to, it’s essential to understand why sealing your camper’s windows and doors is so important, especially during the winter months. When temperatures drop, any gaps or leaks around these areas can lead to several problems, such as:
- Heat loss: Poorly sealed windows and doors allow heat to escape, making it harder to keep your camper warm without constantly running your heater.
- Cold drafts: Drafts entering through gaps can lead to discomfort, making it difficult to maintain a cozy interior.
- Moisture issues: Cold air infiltrating your camper can lead to condensation on your windows and walls, which may result in mold and mildew growth.
- Higher energy costs: With a drafty camper, you may find that you are using more energy to stay warm, leading to higher heating costs during the winter.
By sealing these areas properly, you can keep your camper warmer, drier, and more energy-efficient, while extending the lifespan of your camper’s interior and preventing potential damage.
Inspecting for Gaps and Leaks:
The first step in sealing your camper windows and doors is identifying the areas that need attention. Start by thoroughly inspecting each window and door. Check for any visible gaps or cracks around the edges where the frame meets the camper wall. These gaps are the most likely culprits for drafts and heat loss.
It’s also essential to inspect the seals around the windows and doors themselves. Over time, the rubber gaskets or weatherstripping can degrade, crack, or lose their elasticity. Look for any sections that appear worn, brittle, or damaged. If you notice any issues, these will need to be replaced to ensure a proper seal.
Another area to check is the window glazing. If you see cracks or chips in the glass, moisture can get trapped inside, which will not only reduce insulation but could lead to permanent damage. Small cracks can often be repaired, but if the damage is severe, you may need to replace the glass.
Choosing the Right Materials for Sealing:
Once you’ve identified the problem areas, the next step is to choose the appropriate materials to fix them. Several sealing options are available, depending on the severity of the gaps and your camper’s design.
1. Weatherstripping
Weatherstripping is one of the most common and effective methods for sealing camper windows and doors. It’s typically made from rubber, foam, or silicone and is designed to create a tight seal around doors and windows. The material expands and contracts with temperature changes, maintaining a solid seal all year round.
When selecting weatherstripping, it’s essential to choose a type that will work well with your camper’s materials. For example, foam weatherstripping is ideal for tight gaps, while rubber gaskets are best for larger openings. Make sure to measure the dimensions of the areas you need to seal to ensure a perfect fit.
2. Caulk and Sealant
For smaller cracks and gaps, caulk or sealant can be an excellent option. These materials work by filling in gaps and creating a watertight seal that prevents drafts and moisture from entering. Silicone caulk is the most popular option because it’s flexible and durable, making it ideal for areas that are exposed to the elements.
Before applying caulk, clean the area thoroughly to remove any dirt or debris. Use a caulking gun to apply the material evenly around the edges of the windows and doors. Be sure to smooth it out with a wet finger or tool to ensure the seal is as tight as possible. Once applied, allow the caulk to dry and cure according to the manufacturer’s instructions before testing for leaks.
3. Insulating Window Film
Another option for improving insulation around windows is the use of insulating window film. This thin, transparent material can be applied directly to your windows, creating an additional layer of insulation that helps keep the cold out and the warmth in. The film is easy to apply and can be removed once the winter season is over, leaving your windows clear for the warmer months.
Window film works by creating a barrier that helps prevent heat loss through the glass. It also adds an extra layer of protection from drafts and moisture. While window film may not completely replace the need for other sealing methods, it can significantly enhance the insulation of your camper’s windows, especially when combined with weatherstripping and caulk.
4. Door Sweeps and Draft Stoppers
In addition to sealing around windows, don’t forget about your camper’s doors. The gap between the bottom of the door and the floor is a significant area for drafts to enter, especially if the door isn’t perfectly flush against the frame. Installing a door sweep or draft stopper can prevent cold air from seeping inside.
A door sweep is a piece of weatherstripping that attaches to the bottom of the door and creates a seal between the door and the floor. It is an affordable and easy way to eliminate drafts. If you live in an area with especially harsh winters, a heavy-duty door sweep may be necessary to ensure maximum insulation.
5. Insulation Panels
For windows or doors that are particularly prone to drafts, insulation panels can be a more permanent solution. These are typically made from foam board or other insulating materials and can be cut to fit the size of your windows or doors. They help prevent heat loss and block drafts by providing an extra layer of insulation.
While insulating panels can be more cumbersome to install and remove, they are highly effective in ensuring that your camper remains insulated during the winter months. For those looking to increase energy efficiency and insulation, they can be a worthwhile investment.
Proper Installation of Seals:
Once you’ve chosen the right sealing materials, it’s time to install them. Proper installation is key to ensuring that the seals work effectively and last throughout the winter.
Follow these tips for a successful installation:
- Clean the surfaces: Before applying weatherstripping, caulk, or any other material, clean the surfaces of the windows and doors thoroughly. Remove dirt, dust, and any old sealant to ensure that the new materials adhere properly.
- Measure carefully: Measure the areas you intend to seal before cutting any materials. This ensures a tight fit and minimizes waste.
- Press firmly: When applying weatherstripping, make sure to press the material firmly into place to eliminate any gaps.
- Allow time to cure: After applying caulk or sealant, give it ample time to cure before exposing it to the elements. This will ensure a strong, durable seal.
Testing for Effectiveness:
After sealing your camper windows and doors, it’s crucial to test the effectiveness of the seals. One way to do this is by running your hand along the edges of the windows and doors to feel for drafts. You can also use a smoke pencil or incense stick to detect air movement around the seals. If the smoke moves, there’s still a gap that needs attention.
Another option is to use a flashlight. Turn off all the lights inside your camper and shine a flashlight along the edges of the windows and doors from the outside. If light leaks through, it indicates that there’s an unsealed gap.
Conclusion:
Sealing your camper’s windows and doors is one of the most effective ways to improve winter insulation and ensure that your camper stays warm and protected during the cold months. By carefully inspecting for gaps, choosing the right sealing materials, and installing them correctly, you can prevent drafts, moisture, and heat loss, ultimately increasing your camper’s energy efficiency. Proper sealing not only keeps you comfortable but also helps protect your camper from damage caused by freezing temperatures and moisture buildup.
When it comes to Camper Wintering Michigan, it’s important to ensure your camper is ready for the state’s harsh winter conditions. By investing time and effort into sealing your camper’s windows and doors, you can extend the life of your camper, save on heating costs, and enjoy a warm, dry interior even when the temperatures outside drop. Whether you’re a seasoned camper or new to winter camping, these sealing techniques will make a significant difference in your camper’s winter performance and comfort.