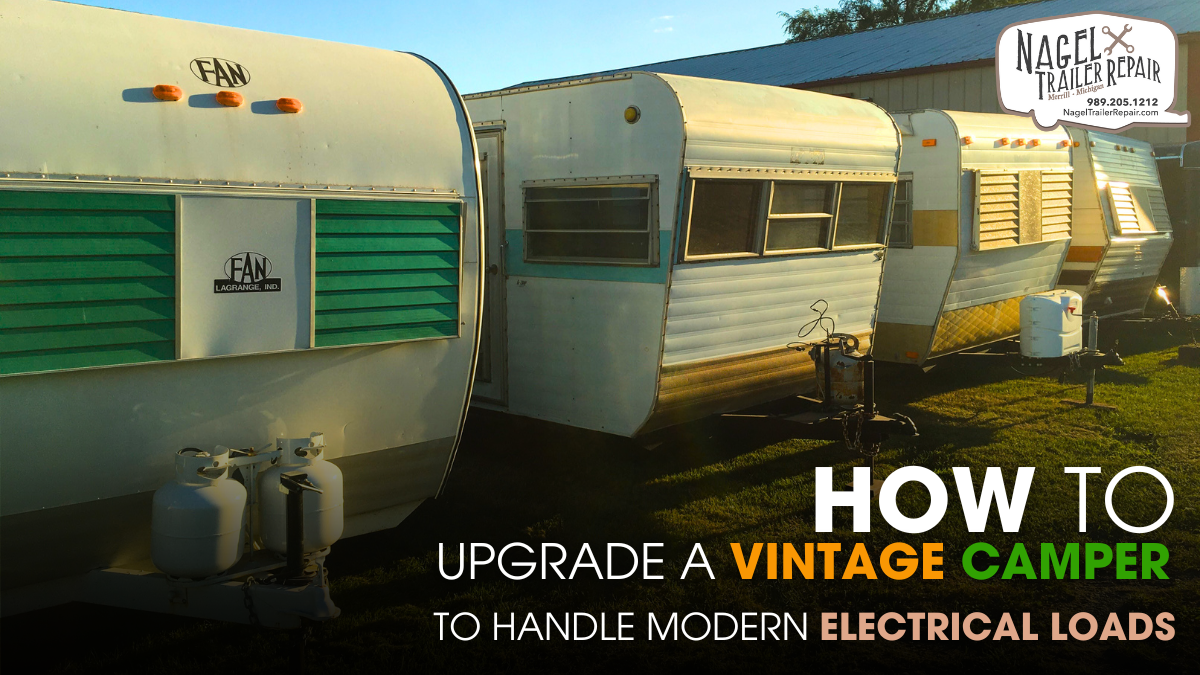
Upgrading a vintage camper to handle modern electrical loads is a great way to ensure that your retro vehicle can support the devices and amenities we’ve come to rely on today. Whether it’s charging your gadgets, powering appliances, or adding modern conveniences like air conditioning and solar panels, enhancing your vintage camper’s electrical system is essential for both safety and comfort.
This comprehensive guide will walk you through the key steps of upgrading your camper’s electrical system, ensuring it can handle modern electrical loads efficiently and safely.
1. Why Upgrade a Vintage Camper’s Electrical System?
Vintage campers often come with outdated electrical systems that were designed to handle minimal power loads. Back in the day, campers were used for basic needs like lighting and small appliances. Today, the demands are higher. If you plan to use modern amenities such as air conditioners, microwaves, computers, and chargers, you’ll need to ensure your camper’s electrical system can handle these loads safely.
Benefits of Upgrading:
- Safety: Modern electrical systems come with better safety features, reducing the risk of short circuits, overheating, or even fires.
- Convenience: You can power more appliances simultaneously without worrying about overloading the system.
- Efficiency: Newer systems are designed for better energy efficiency, especially if you plan on using solar power or energy storage solutions.
2. Understanding Your Current Electrical System
Before diving into the upgrade process, it’s crucial to understand your camper’s existing electrical layout. Most vintage campers use a 12-volt DC (Direct Current) system for basic needs like lighting, while appliances run on 120-volt AC (Alternating Current) power when connected to an external power source.
Key Components:
- Battery System: Usually a small 12V battery for lighting and some appliances.
- Converter: Converts 120V AC power from shore power to 12V DC for the battery and other 12V circuits.
- Inverter: Converts 12V DC power from the battery to 120V AC for appliances (if installed).
- Wiring: Often older and not designed for high power loads, which can result in overheating or damage.
3. Assessing Modern Electrical Demands
Before upgrading, make a list of all the modern devices and appliances you plan to use in your camper. This will help you understand your new power requirements. Common modern appliances include:
- Air conditioners (AC)
- Microwaves
- Refrigerators
- Laptops and chargers
- LED lighting
- Fans
- Coffee makers
Calculating Power Needs:
Each device will have a specific wattage rating. To calculate your total power needs, sum up the wattages of all the devices you plan to run at once. For example, an air conditioner might consume 1,500 watts, a microwave around 1,200 watts, and a laptop charger 60 watts. It’s essential to ensure your electrical system can handle the combined load.
4. Step-by-Step Guide to Upgrading Your Electrical System
A. Evaluating Wiring and Rewiring Your Camper
Step 1: Inspect the existing wiring. Old, brittle, or worn-out wires can be dangerous, especially when handling higher loads. You may need to rewire the camper entirely, replacing outdated cables with modern, heat-resistant wiring.
- Upgrade to Copper Wiring: Copper wiring is standard for modern electrical systems due to its high conductivity and durability.
- Gauge: For high-demand circuits like air conditioners or microwaves, you’ll need thicker wires (lower gauge, such as 10 or 12 AWG) to handle the current.
Step 2: Install dedicated circuits for high-wattage appliances. It’s crucial that larger devices like the AC or microwave have their own circuits to avoid overloading others.
B. Upgrading the Power Inlet and Circuit Breakers
Many vintage campers are only equipped with a 15-amp or 30-amp power inlet, which limits the amount of power you can pull from shore power. To handle modern electrical loads, consider upgrading to a 50-amp power inlet.
- Circuit Breaker Panel: Replace your outdated fuse box with a modern circuit breaker panel. A 50-amp service can handle up to 12,000 watts, making it ideal for modern upgrades.
C. Installing a New Converter or Inverter
Your vintage camper’s original converter may not be efficient or sufficient for modern demands. You’ll need to upgrade to a high-efficiency converter or even install an inverter/charger if you plan to rely on battery power for 120V appliances.
- Converter/Charger: Converts shore power to 12V for your batteries and 12V circuits, while charging the battery when plugged in.
- Inverter: Converts 12V DC from the battery to 120V AC, allowing you to use standard appliances without shore power.
D. Adding Batteries and Solar Panels
Modern electrical demands require more battery storage, especially if you plan to go off-grid. Adding deep cycle batteries or lithium-ion batteries can greatly extend your camper’s energy storage capacity.
- Solar Panels: Installing solar panels allows you to generate power even when you’re off the grid. Pair your solar panels with a solar charge controller to regulate the power flow to your batteries and prevent overcharging.
E. Upgrading Lighting and Outlets
Replace the older incandescent or halogen lights with energy-efficient LED lighting. LED lights use a fraction of the power, produce less heat, and last much longer than traditional bulbs.
- USB Outlets: Upgrade your outlets to include USB charging ports, making it easier to charge phones, tablets, and other gadgets.
F. Installing Surge Protectors and Safety Devices
One of the most important upgrades is the addition of surge protectors and other safety devices. These protect your system from power spikes, which are common at campgrounds and can damage sensitive electronics.
- Surge Protector: Install a surge protector at the shore power connection to prevent voltage surges.
- GFCI Outlets: Use Ground Fault Circuit Interrupter (GFCI) outlets in wet areas (like kitchens and bathrooms) to prevent electrical shock.
5. Hiring a Professional vs. DIY
While many camper owners prefer to upgrade their electrical systems themselves, there are some tasks that might require professional help. If you’re unfamiliar with electrical systems or uncomfortable with rewiring, consider hiring a licensed electrician or RV technician.
When to Hire a Professional:
- Rewiring the entire camper
- Installing new circuit breakers and power inlets
- Setting up solar panels and advanced battery systems
DIY-Friendly Tasks:
- Replacing outlets with USB ports
- Installing LED lighting
- Adding surge protectors
6. Maintaining Your Upgraded System
Once your vintage camper’s electrical system is upgraded, regular maintenance is crucial to ensure it stays in good working condition. Here are some tips to keep your system functioning properly:
- Inspect Wiring Regularly: Check for any signs of wear, fraying, or overheating in your wires.
- Test Circuit Breakers: Make sure the breakers are functioning and tripping correctly when overloaded.
- Clean Battery Terminals: If you’re using batteries, keep the terminals clean to prevent corrosion.
- Monitor Power Loads: Avoid overloading circuits by being mindful of the appliances you’re using at the same time.
Conclusion:
Upgrading a vintage camper to handle modern electrical loads is essential for anyone who wants to combine the charm of their retro vehicle with the conveniences of today’s technology. By addressing outdated wiring, upgrading circuit breakers, adding more efficient power sources like solar panels, and ensuring proper battery storage, you can make your camper safer, more reliable, and capable of handling higher energy demands.
Whether you’re planning to use high-wattage appliances such as air conditioners, microwaves, or laptops, or simply want to enjoy a reliable power system on the road, upgrading the electrical system is a must. Replacing old wiring, installing dedicated circuits for high-demand devices, and improving lighting with energy-efficient LED options will not only enhance safety but also improve energy efficiency. Additionally, incorporating modern features such as USB charging outlets, surge protectors, and GFCI outlets adds a layer of protection to your system, especially when camping at sites prone to power fluctuations.
For those who prefer a DIY approach, many upgrades, such as changing outlets and installing new lighting, can be tackled independently. However, for larger tasks like rewiring, installing new circuit breaker panels, or adding solar panels, it’s often best to hire a professional. For vintage camper owners, especially those located in Michigan, seeking the help of Vintage Camper Repair Michigan experts ensures that your system meets the highest safety standards.
By taking these steps, you can ensure that your vintage camper is fully equipped to meet modern electrical demands, offering the perfect balance between classic style and contemporary functionality. With the right upgrades, your camper will be ready for all your future adventures, providing comfort and convenience no matter where the road takes you.