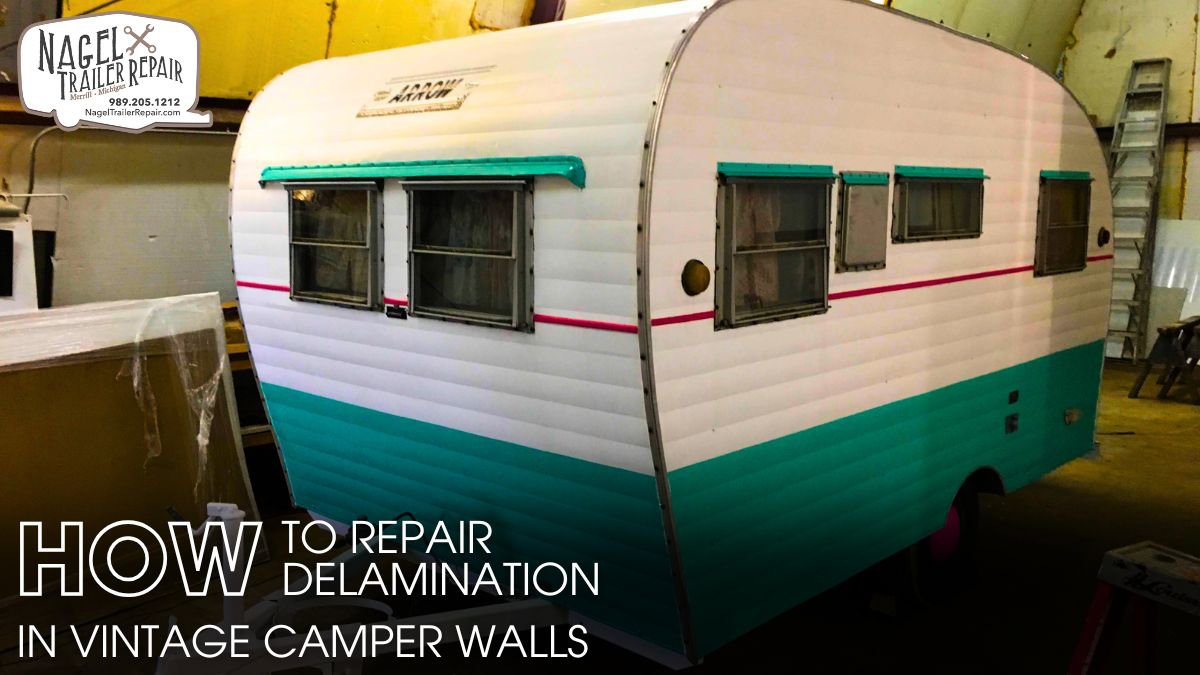
If you own a vintage camper, chances are you’ve fallen in love with its character — the curved lines, the chrome accents, and that unmistakable mid-century charm. But behind that nostalgic beauty, time often leaves its mark. One of the most common structural problems seen in older campers is wall delamination — a separation of the wall layers that can weaken the frame and compromise your trailer’s integrity.
For those dealing with Vintage Camper Repair Michigan, delamination isn’t just a cosmetic issue — it’s a technical challenge that requires precision, patience, and the right materials. Michigan’s fluctuating weather, with its freezing winters and humid summers, makes vintage campers especially vulnerable to moisture damage. Understanding how delamination occurs, how to repair it, and how to prevent it in the future will save you from expensive restorations down the line.
What Delamination Really Is?
Delamination occurs when the bonded layers of a camper wall — typically fiberglass or aluminum on the outside, plywood or foam in the middle, and paneling inside — start separating. This separation happens when water seeps into the adhesive layer and breaks down the glue that holds everything together. Over time, this causes bubbling, soft spots, and even visible bulges on the camper’s surface.
The symptoms are easy to overlook at first. You might notice:
-
A rippled or uneven wall surface
-
Hollow or “spongy” areas when pressed
-
Water stains or discoloration inside the camper
-
Reduced insulation or increased road noise
If ignored, delamination can spread and compromise the structure of your vintage camper. The longer moisture remains trapped, the deeper it penetrates — making the repair more complex. Early detection is key, especially for those doing vintage trailer repair Michigan projects where weather damage tends to accelerate deterioration.
Why Vintage Campers Suffer?
Vintage campers have a few vulnerabilities built right into their design. Many mid-century models used organic adhesives and untreated wood cores that weren’t made for decades of exposure. Combine that with aging sealants, worn roof seams, and Michigan’s notorious humidity swings, and you’ve got the perfect recipe for delamination.
Older trailers also lack the advanced water barriers found in modern RVs. When water sneaks in through a cracked seal, it doesn’t always escape — it lingers, softening adhesives and warping plywood over time. Even tiny pinhole leaks around vents, windows, or roof edges can cause gradual but severe damage.
For anyone involved in vintage camper restoration Michigan, understanding this moisture dynamic is critical. Preventing delamination isn’t about luck — it’s about smart sealing, proper storage, and regular inspections.
Tools and Prep You’ll Need:
Before starting repairs, preparation is everything. Delamination repair is a precision task, and cutting corners will only lead to repeating the process later.
Here’s what you’ll need before you begin:
-
Adhesive or epoxy resin (choose marine-grade or structural epoxy for best results)
-
Industrial syringe for injecting adhesive deep into wall layers
-
Clamps or pressure boards to compress the wall during curing
-
Rollers to evenly spread pressure and remove air pockets
-
Heat gun or hair dryer for drying trapped moisture
-
Protective gear — gloves, eye protection, and a respirator if working with chemicals
Preparation steps before applying adhesive include:
-
Inspect and mark all delaminated areas by tapping and listening for hollow sounds.
-
Dry the affected section thoroughly — moisture will prevent adhesive from bonding.
-
Remove trim, lights, or siding panels to access the damaged section fully.
-
Clean the surface with denatured alcohol or acetone to remove grease and debris.
A well-prepared surface ensures the adhesive penetrates deep and bonds permanently. This is especially important for those tackling Vintage Camper Repair Michigan in humid or damp climates, where moisture is the main culprit behind most wall failures.
Step-by-Step Repair Guide:
Repairing delamination is a methodical process. It’s not difficult, but it demands patience and precision. Here’s a clear approach to follow:
1. Expose the damaged layer: Cut or peel back the outer skin just enough to reach the separated area. Be careful not to bend or crease the aluminum or fiberglass layer — you’ll need to reattach it cleanly later.
2. Dry the core completely: Use a heat gun on a low setting or leave the wall open to dry for at least 24 hours. Any trapped moisture will reduce bonding strength and can restart the delamination process.
3. Inject adhesive: Using a syringe, inject epoxy or structural adhesive between the separated layers. Work slowly and make sure the adhesive spreads evenly throughout the gap. For larger areas, gently lift the wall layer to coat the inner surfaces.
4. Apply pressure: Use clamps or a roller to apply uniform pressure over the repaired section. For wide panels, sandwich the area between two flat boards and tighten evenly. This step ensures complete re-bonding and eliminates air gaps.
5. Allow full curing: Let the adhesive cure for 24 to 48 hours, depending on temperature and humidity. Avoid moving or stressing the repaired wall during this time.
6. Reassemble and seal: Once cured, reinstall trim, lights, and siding. Apply new sealant around every joint to prevent future leaks.
Sealing and Reinforcing Tips:
A successful delamination repair doesn’t end with re-bonding the wall — it continues with prevention. Once your wall is structurally sound, take steps to protect it from future water intrusion.
Here are a few proven tips from professionals in vintage RV repair Michigan circles:
-
Re-seal all seams yearly. Use high-quality polyurethane or marine sealants — silicone tends to crack over time.
-
Inspect roof and window seals. Even minor cracks allow water infiltration during Michigan’s heavy rains.
-
Install drip edges or rain guards. These small additions help divert water away from seams.
-
Ventilate your camper. Good airflow prevents condensation buildup during cold or humid weather.
-
Reinforce weak sections. If the wood core feels soft or compromised, add thin plywood reinforcements behind wall panels before finishing.
Proper sealing doesn’t just prevent delamination — it preserves insulation, structural strength, and the camper’s original look. For anyone committed to vintage camper restoration Michigan, these habits will extend the life of your repairs by years.
Testing and Long-Term Care:
Once your delamination repair is complete, you’ll want to test the wall’s integrity. Tap gently with your knuckles — a solid sound means the layers are properly bonded again. Flex the surface slightly; it should feel firm and uniform.
To maintain that condition:
-
Check for leaks seasonally, especially after heavy storms or freezing cycles.
-
Keep your camper dry when in storage; use moisture absorbers or a dehumidifier.
-
Avoid power washing walls, as high-pressure water can force moisture into seams.
-
Store under cover or indoors when possible — exposure accelerates weathering.
For enthusiasts doing Vintage Camper Repair Michigan, regular maintenance is part of the joy of ownership. Each inspection keeps your vintage trailer in road-ready shape and preserves the story it carries from generation to generation.
The Role of Professional Maintenance:
Regular professional maintenance plays a crucial role in preserving the structure and longevity of vintage campers. Skilled technicians can identify early signs of hidden issues that often escape the untrained eye, such as subtle wall separations, trapped moisture, or soft floor spots beneath the surface.
Through precise inspection tools and restoration techniques, professionals can reinforce weakened bonding in wall panels, reapply structural adhesives, and seal vulnerable seams before damage spreads. They also assess flooring integrity, checking for rot, sagging, or water intrusion that may compromise safety during travel. Timely intervention prevents costly overhauls and helps retain the camper’s original framework and design.
Beyond repair, consistent professional upkeep ensures proper ventilation, leak control, and balanced load distribution—factors that keep vintage trailers roadworthy for decades. Entrusting routine maintenance to experts not only protects your investment but keeps every journey smooth, safe, and true to its vintage spirit.
Final Thoughts:
Repairing delamination in a vintage camper might sound intimidating, but it’s a task that rewards patience with pride. These campers weren’t mass-produced with modern plastics or composites — they were crafted with care, wood, and craftsmanship that deserves the same attention today.
By understanding the structure, taking your time with repairs, and maintaining good sealing practices, you can save your camper from major structural damage and extend its life for decades.
For those passionate about Vintage Camper Repair Michigan, every restoration project is more than just a technical fix — it’s a way to honor the spirit of travel, craftsmanship, and freedom that vintage campers represent. Whether you’re doing your first repair or your tenth, remember: every patch, every seal, and every layer you restore adds another chapter to your camper’s story on the open road.