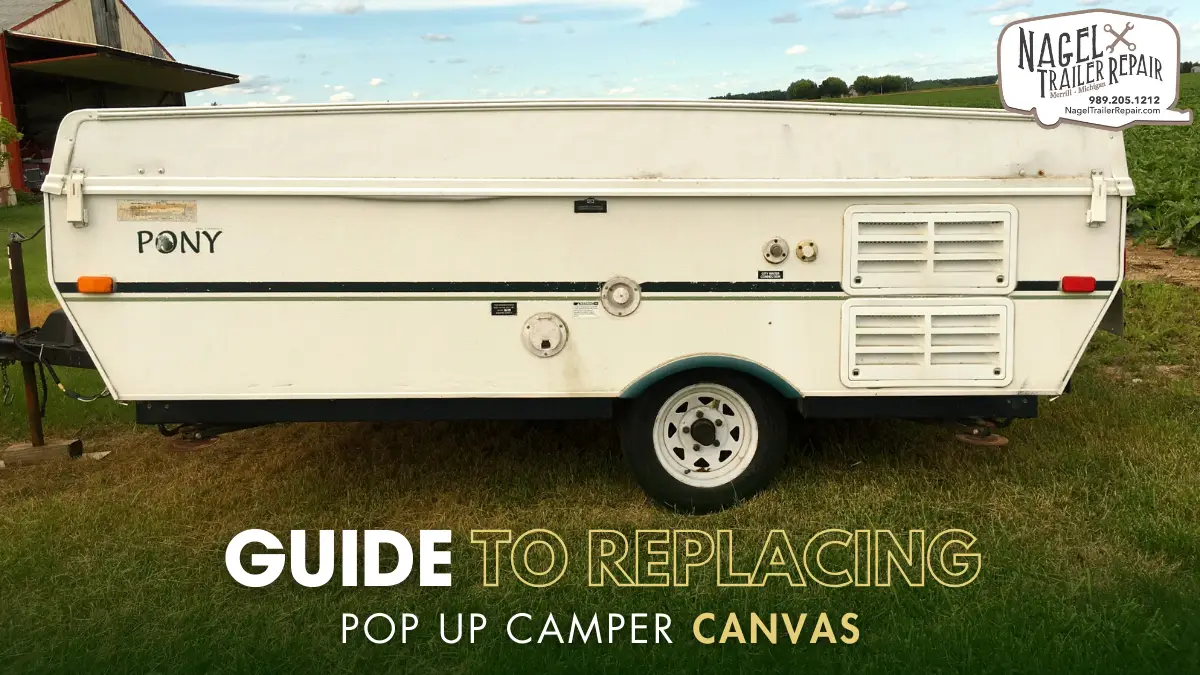
Pop-up campers offer a convenient and affordable way to enjoy the great outdoors without sacrificing comfort. However, over time, the canvas on these campers can wear out, tear, or become damaged, compromising their functionality and appearance. In such cases, replacing the canvas becomes necessary to ensure continued enjoyment of your outdoor adventures. In this guide, we’ll walk you through the process of replacing the canvas on your pop-up camper, helping you restore it to its former glory.
Understanding the Canvas:
Before diving into the replacement process, it’s essential to understand the role of the canvas on your pop-up camper. The canvas serves as the primary barrier between you and the elements, providing protection from rain, wind, and insects while allowing for ventilation and natural light. It also adds to the aesthetic appeal of the camper, giving it a cozy, outdoor feel.
Assessing the Damage:
The first step in replacing the canvas is to assess the extent of the damage. Inspect the canvas thoroughly for tears, holes, mold, mildew, or signs of wear and tear. Take note of any areas that need attention, as this will guide you in determining whether a full replacement is necessary or if repairs can suffice.
Gathering Supplies:
Once you’ve assessed the damage, gather the necessary supplies for the replacement project. This may include:
1. Replacement canvas (make sure it’s compatible with your pop-up camper model)
2. Screwdriver or drill (depending on your camper’s construction)
3. Utility knife or scissors
4. Adhesive or sealant
5. Measuring tape
6. Cleaning supplies (soap, water, and a brush)
7. Assistance (optional but helpful, especially for larger campers)
Removing the Old Canvas:
Before installing the new canvas, you’ll need to remove the old one. Start by lowering the camper’s roof and removing any bedding or furnishings inside. Next, carefully detach the old canvas from the camper’s frame, taking care not to damage any components in the process. Depending on your camper’s design, this may involve unscrewing, unzipping, or unclipping the canvas from the frame.
Installing the New Canvas:
With the old canvas removed, it’s time to install the new one. Begin by positioning the replacement canvas over the camper’s frame, ensuring that it aligns correctly and fits snugly. Use the appropriate fasteners or adhesive to secure the canvas in place, following the manufacturer’s instructions carefully. Take your time during this step to ensure a proper fit and seal.
Sealing and Reinforcing:
Once the new canvas is installed, it’s essential to seal and reinforce any seams or edges to prevent water infiltration and prolong the lifespan of the camper. Apply a suitable sealant or adhesive along the seams and edges of the canvas, paying extra attention to areas prone to leakage or stress. Allow the sealant to dry completely before testing the camper’s waterproofing capabilities.
Testing and Finishing Touches:
After completing the installation and sealing process, it’s time to test your newly replaced canvas. Raise the camper’s roof and inspect the canvas for any signs of sagging, wrinkling, or misalignment. Open and close the windows and doors to ensure they operate smoothly and securely. If everything looks and functions as it should, you can add any finishing touches, such as reattaching curtains or installing new trim, to complete the project.
Maintenance and Care:
To keep your pop-up camper canvas in top condition, it’s essential to perform regular maintenance and care. Clean the canvas regularly with mild soap and water, paying attention to any areas prone to mold or mildew growth. Allow the canvas to dry completely before folding and storing the camper to prevent moisture buildup. Additionally, inspect the canvas before each trip for any signs of damage or wear, addressing any issues promptly to avoid further damage.
Conclusion:
In conclusion, mastering the art of replacing your pop-up camper canvas ensures you’re always ready for your next outdoor adventure. Whether you’re facing tears, wear, or water damage, this guide equips you with the knowledge and steps needed to restore your camper to its former glory. Remember, proper maintenance and care are key to prolonging the lifespan of your canvas and maximizing enjoyment on the road. For those in Michigan seeking professional assistance or replacement parts, consider reaching out to trusted services specializing in pop-up camper repair in Michigan. With dedication to upkeep and the right resources, your pop-up camper will continue to be your reliable companion for many more adventures to come.